Multimodal Support in DB-GPT
DB-GPT supports multimodal capabilities, allowing you to work with various data types such as text, images, and audio. This guide will help you set up and use multimodal features in DB-GPT.
This guide includes run local model and proxy model.
Run Local Model
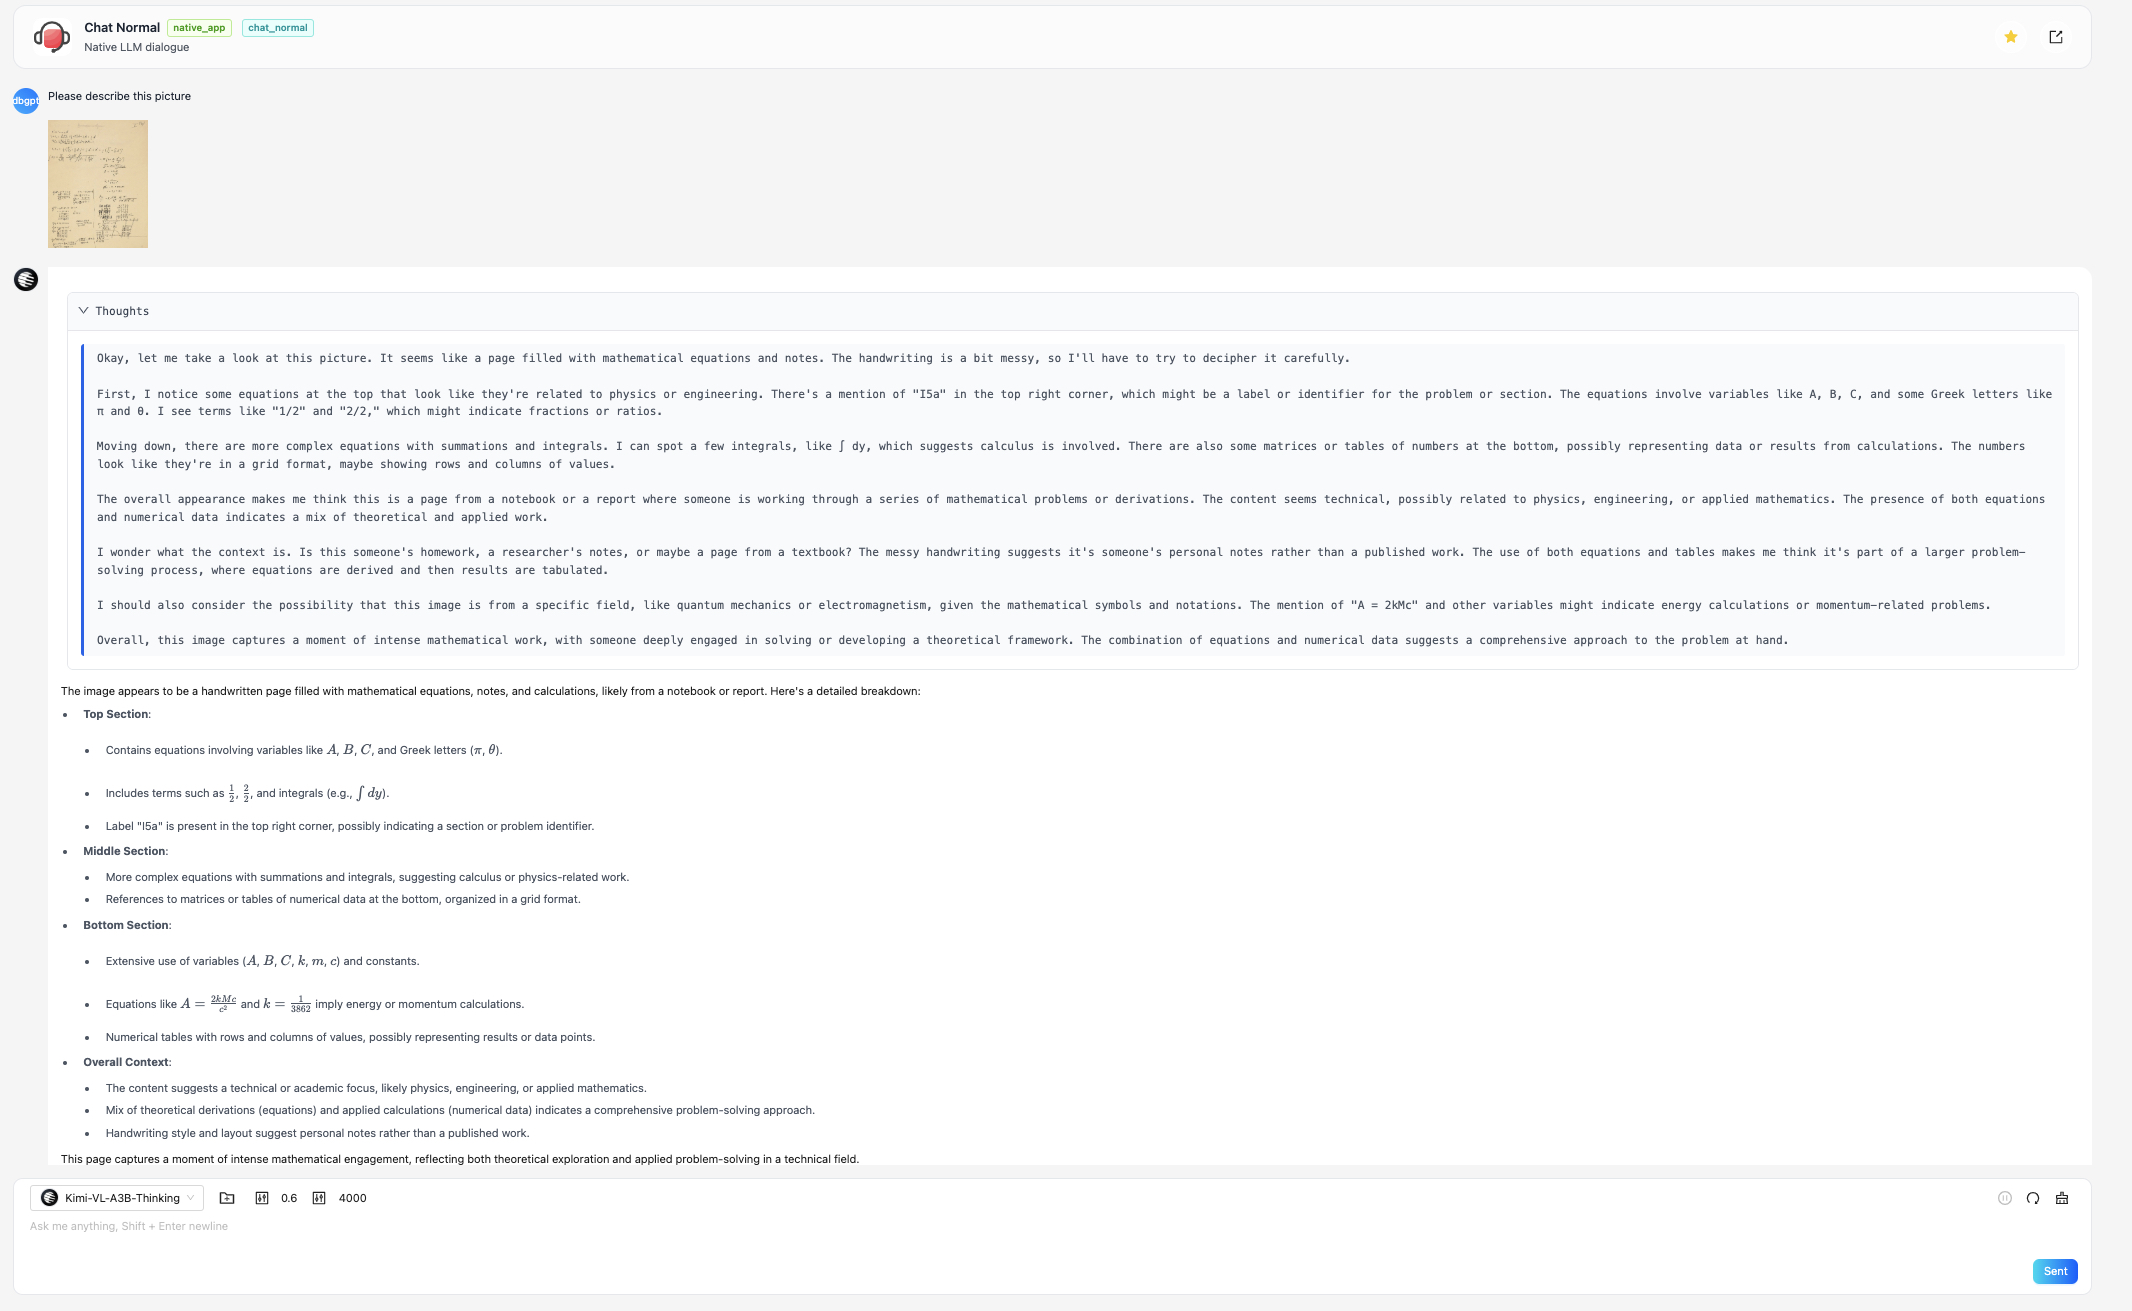
In this section, we will use the Kimi-VL-A3B-Thinking model as an example to demonstrate how to run a local multimodal model.
Step 1: Install Dependencies
Make sure you have the required dependencies installed. You can do this by running:
uv sync --all-packages \
--extra "base" \
--extra "hf" \
--extra "cuda121" \
--extra "rag" \
--extra "storage_chromadb" \
--extra "quant_bnb" \
--extra "dbgpts" \
--extra "model_vl" \
--extra "hf_kimi"
Step 2: Modify Configuration File
After installing the dependencies, you can modify your configuration file to use the Kimi-VL-A3B-Thinking model.
You can create a new configuration file or modify an existing one. Below is an example configuration file:
# Model Configurations
[models]
[[models.llms]]
name = "moonshotai/Kimi-VL-A3B-Thinking"
provider = "hf"
# If not provided, the model will be downloaded from the Hugging Face model hub
# uncomment the following line to specify the model path in the local file system
# path = "the-model-path-in-the-local-file-system"
Step 3: Run the Model
You can run the model using the following command:
uv run dbgpt start webserver --config {your_config_file}
Step 4: Use The Model In DB-GPT
Now, DB-GPT just support image input, and only the Chat Normal scenario is supported.
You can click the + button in the chat window to upload an image. Then type your question in the input box and hit enter. The model will process the image and provide a response based on the content of the image.
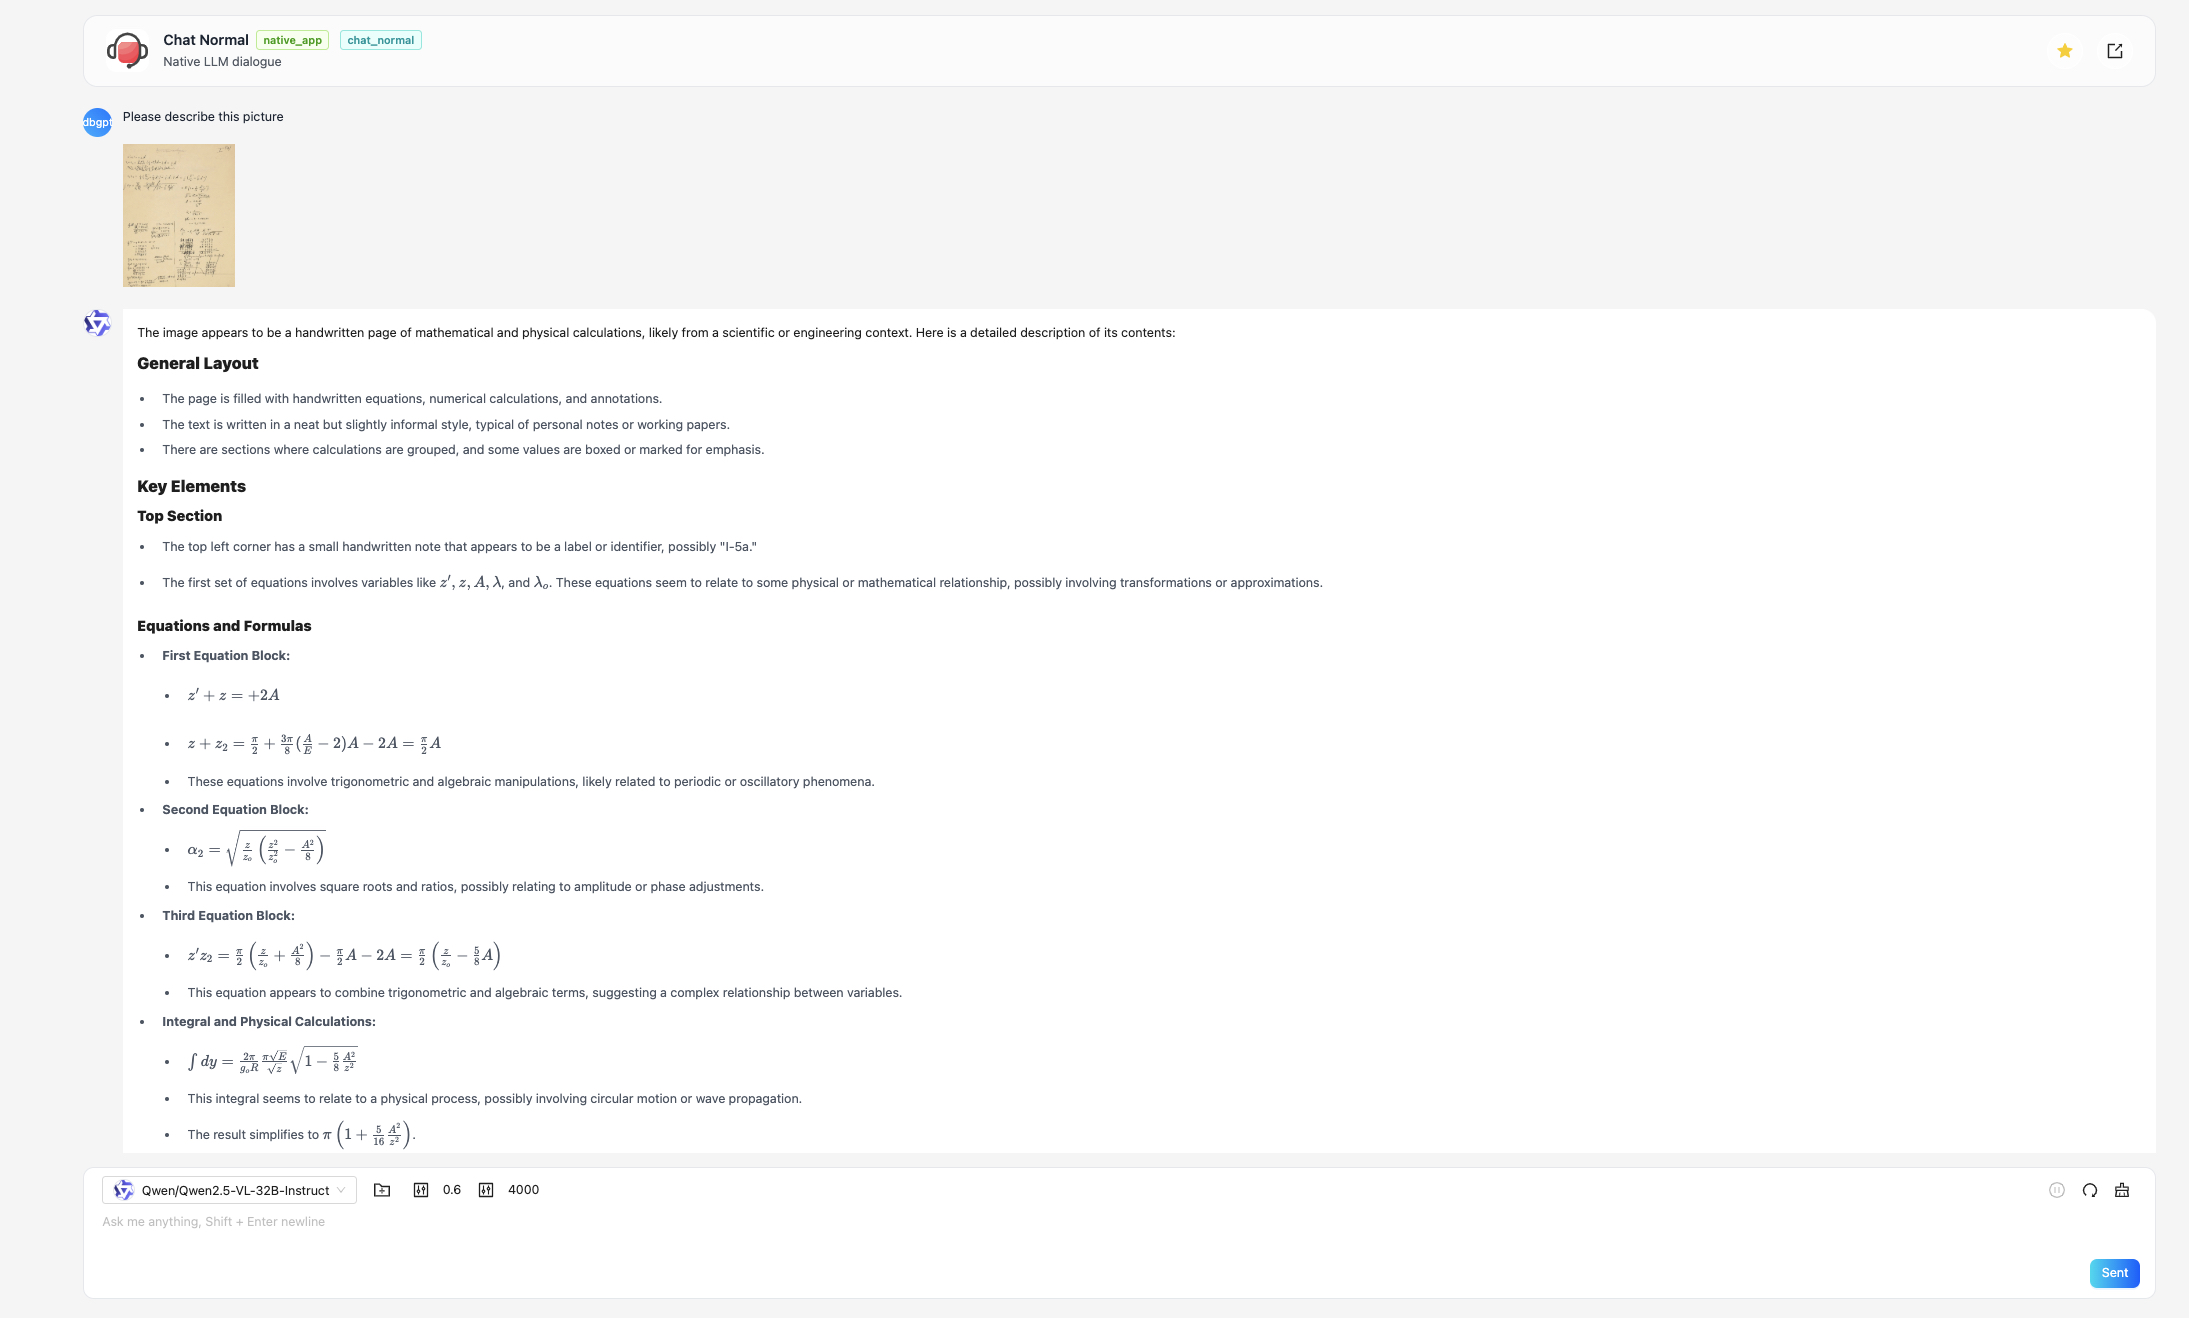
Run Proxy Model
In this section, we will use the Qwen/Qwen2.5-VL-32B-Instruct which is hosted on SiliconFlow as an example to demonstrate how to run a proxy multimodal model.
Step 1: Install Dependencies
Make sure you have the required dependencies installed. You can do this by running:
uv sync --all-packages \
--extra "base" \
--extra "proxy_openai" \
--extra "rag" \
--extra "storage_chromadb" \
--extra "dbgpts" \
--extra "model_vl" \
--extra "file_s3"
Now, most proxy model can't receive image raw data, so you need to upload your image to a storage service like S3, MinIO, Aliyun OSS, etc, then generate a public URL for the image. Because many storages will provide a S3 compatible API, you can use the file_s3 extra to upload your image to your storage service.
Step 2: Modify Configuration File
After installing the dependencies, you can modify your configuration file to use the Qwen/Qwen2.5-VL-32B-Instruct model.
You can create a new configuration file or modify an existing one. Below is an example configuration file:
# Model Configurations
[[models.llms]]
name = "Qwen/Qwen2.5-VL-32B-Instruct"
provider = "proxy/siliconflow"
api_key = "${env:SILICONFLOW_API_KEY}"


[[serves]]
type = "file"
# Default backend for file server
default_backend = "s3"

[[serves.backends]]
# Use Tencent COS s3 compatible API as the file server
type = "s3"
endpoint = "https://cos.ap-beijing.myqcloud.com"
region = "ap-beijing"
access_key_id = "${env:COS_SECRETID}"
access_key_secret = "${env:COS_SECRETKEY}"
fixed_bucket = "{your_bucket_name}"
Optionally, you can use the Aliyun OSS storage service as the file server(You should install dependency --extra "file_oss" first).
[[serves]]
type = "file"
# Default backend for file server
default_backend = "oss"

[[serves.backends]]
type = "oss"
endpoint = "https://oss-cn-beijing.aliyuncs.com"
region = "oss-cn-beijing"
access_key_id = "${env:OSS_ACCESS_KEY_ID}"
access_key_secret = "${env:OSS_ACCESS_KEY_SECRET}"
fixed_bucket = "{your_bucket_name}"
Step 3: Run the Model
You can run the model using the following command:
uv run dbgpt start webserver --config {your_config_file}
Step 4: Use The Model In DB-GPT